
House Pipe Maintenance: A Practical Homeowner’s Guide
Most homeowners don’t think about their pipes until something goes wrong. A burst pipe in winter. A slow leak behind the wall that’s been quietly warping the drywall for months. A drain that’s gone from slow to completely blocked.
By the time these problems show up, they’re almost always more expensive than they needed to be.
The good news is that proper house pipe maintenance isn’t complicated. It doesn’t require special tools or professional training for most of it. What it does require is knowing what to check, when to check it, and what warning signs to take seriously.
This guide covers everything — from basic inspection habits to seasonal pipe care — so you can keep your plumbing system in good shape and avoid the kind of repairs that drain your bank account.
What Is House Pipe Maintenance?
House pipe maintenance is the regular process of inspecting, cleaning, and protecting the pipes in your home’s plumbing system. It includes checking for leaks, managing water pressure, preventing corrosion, clearing buildup in drain lines, and protecting pipes from seasonal damage — all to extend the life of your system and prevent costly failures.
Quick Summary
Inspect your pipes regularly, manage water pressure, protect against corrosion, keep drains clear, and winterize before cold weather hits. Small, consistent habits prevent big, expensive problems.
Why Pipe Maintenance Actually Matters
Here’s a number that puts things in perspective: the average US homeowner spends between $150 and $350 on a plumber for a simple repair. A burst pipe or major water damage? That can easily run into the thousands.
Most of those calls happen because something small was ignored for too long.
A pinhole leak, a corroded joint, a pipe that wasn’t insulated before a hard freeze — these things don’t fail randomly. They fail because they weren’t maintained. Regular house pipe maintenance is what stands between a minor fix and a major disaster.
Step 1: Know What Kind of Pipes You Have
Before you can maintain your pipes properly, you need to know what they’re made of. Different materials have different lifespans, weaknesses, and maintenance needs.
Common pipe materials in US homes:
- Copper — Durable, lasts 50+ years, but can corrode in highly acidic water
- PVC/CPVC — Common in newer homes, lightweight, low maintenance, but can crack in extreme cold
- Galvanized steel — Found in older homes (pre-1970s), prone to rust and corrosion over time
- PEX (cross-linked polyethylene) — Flexible, freeze-resistant, increasingly common in modern construction
If your home was built before 1980 and you’ve never had the pipes inspected, it’s worth having a plumber take a look. Galvanized pipes that are decades old may be corroding from the inside without any visible signs on the outside.
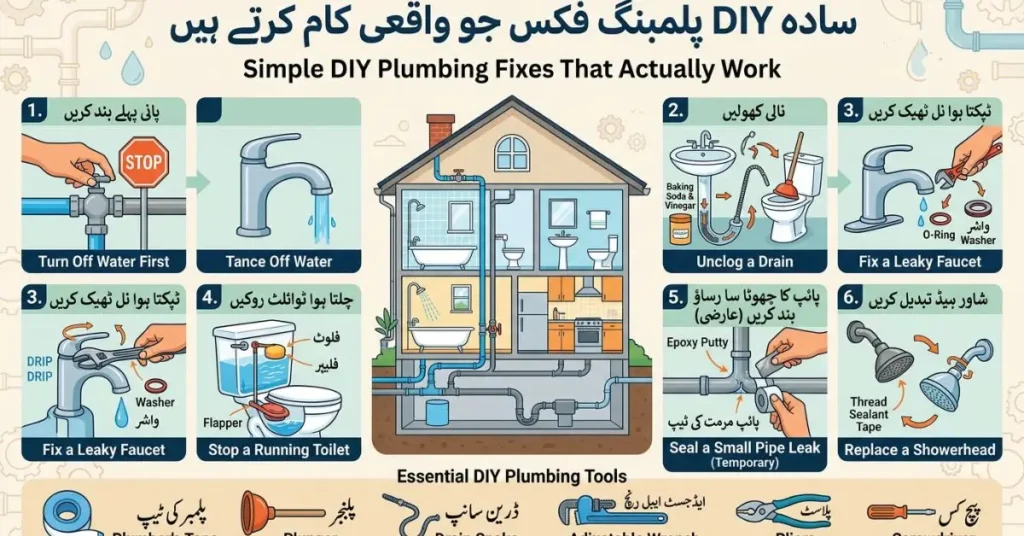
Step 2: Check for Leaks Regularly
You don’t need a plumber to check for leaks. You just need to be consistent about looking.
Where to check:
- Under every sink (kitchen and bathrooms)
- Around the base of toilets
- Behind your washing machine
- Near your water heater
- Along any visible pipes in the basement or crawl space
Look for moisture, water stains, rust rings, or soft and swollen wood inside cabinets. These are all signs of a slow drip that’s been happening longer than you realize.
For hidden leaks, use the water meter method. Turn off every water source in your home. Write down the meter reading. Wait 20–30 minutes without using any water. If the number changed, water is escaping somewhere in your system.
This simple test takes less than 30 minutes and can catch leaks before they cause serious damage.
Step 3: Keep Water Pressure in the Safe Range
High water pressure is one of the most common causes of pipe wear — and most homeowners have no idea their pressure is too high.
The safe range is 40–60 PSI. Once you push past 80 PSI consistently, you’re putting stress on pipe joints, appliances, and fixtures every single time water flows through your home.
Buy a basic water pressure gauge (usually under $15 at any hardware store). Attach it to an outdoor hose bib and check the reading. If you’re regularly above 70–80 PSI, you likely need a pressure reducing valve (PRV) installed on your main line.
A PRV installation is one job worth paying a plumber to do correctly. Done right, it protects your entire system. Done wrong, it creates new pressure problems.
Step 4: Manage Corrosion Before It Manages You
Corrosion is the slow killer of residential plumbing. It builds up invisibly, narrows your pipes, weakens joints, and eventually causes leaks or failures.
Signs of corrosion to watch for:
- Bluish-green stains around copper pipe fittings
- Rust-colored water coming from your taps (especially in older homes)
- White or yellowish mineral deposits around fixtures
- Low water pressure in specific areas of your home
If your home has older galvanized steel pipes and you’re seeing rust-colored water or consistently low pressure, corrosion may have built up significantly inside the pipes. At that point, pipe replacement is more cost-effective than continued maintenance.
For copper pipes, check the water quality in your area. Highly acidic water (low pH) accelerates corrosion. A simple water test kit (around $20) can tell you if your water is aggressive toward your pipes.
Step 5: Keep Your Drain Lines Clear
Drain line maintenance is the most routine part of house pipe maintenance — and the most commonly neglected.
Grease, soap scum, hair, and food particles build up inside drain pipes over time. They don’t block all at once. They build slowly until water starts draining slower and slower, and then stops altogether.
Simple habits that prevent drain buildup:
- Use a mesh strainer in every shower, tub, and kitchen sink
- Never pour cooking oil or grease down the kitchen drain — pour it into a container and throw it in the trash
- Run hot water for 30 seconds after washing dishes to push food residue through
- Once a month, pour a kettle of boiling water slowly down the kitchen drain to melt grease buildup
For a deeper monthly clean, use the baking soda and vinegar method:
- Pour half a cup of baking soda down the drain
- Follow with half a cup of white vinegar
- Cover and let it fizz for 10–15 minutes
- Flush with a full kettle of hot water
This is gentle on pipes and effective against early-stage buildup. It’s far better for your plumbing than regular use of chemical drain cleaners, which can weaken older pipes over time.
Step 6: Protect Your Pipes Every Winter
This applies heavily to homeowners across the northern US states, Canada, and colder parts of the UK. Frozen pipes cause thousands of dollars in damage every year — and almost all of it is preventable.
Water expands when it freezes. A pipe that freezes solid can crack or burst, leaving you with a flood inside your walls.
Before winter hits:
- Insulate exposed pipes in unheated spaces — garages, basements, crawl spaces, and attic runs
- Disconnect and drain all outdoor garden hoses
- Shut off and drain any irrigation systems
- Seal gaps or cracks in exterior walls near pipes to block cold air
During cold weather:
- Keep your thermostat at or above 55°F, even if you’re traveling
- Open cabinet doors under sinks on exterior walls so warm air can reach the pipes
- Let cold-side faucets drip slightly during extreme cold snaps — moving water is harder to freeze
A realistic example: A homeowner in Chicago left for a week in January with the heat set to 50°F to save on energy. Pipes in an exterior bathroom wall froze and burst. The resulting water damage cost over $4,000 in repairs — far more than the heating bill would have been.
Step 7: Give Your Water Heater Some Attention
Your water heater is part of your pipe system. Ignoring it affects your hot water lines and can lead to pressure issues or leaks.
Annual water heater tasks:
- Flush the tank to remove sediment that builds up at the bottom
- Check the anode rod — replace it every 3–5 years to prevent tank corrosion
- Test the pressure relief valve by lifting the lever briefly — it should release water, then stop when released
- Check for rust, moisture, or corrosion around the base of the unit
A well-maintained water heater lasts 10–12 years. A neglected one often fails in 6–8. Flushing the tank once a year is something most homeowners can do themselves with a garden hose.
Pipe Maintenance: Quick Reference Schedule
| Task | Frequency | DIY Friendly? |
|---|---|---|
| Check under sinks for leaks | Monthly | Yes |
| Clean drains with baking soda | Monthly | Yes |
| Check water pressure | Every 6 months | Yes |
| Inspect visible pipes for corrosion | Every 6 months | Yes |
| Flush water heater tank | Annually | Yes |
| Check anode rod | Every 3–5 years | Moderate |
| Winterize outdoor faucets/hoses | Before first freeze | Yes |
| Full pipe inspection by plumber | Every 2–3 years | No |
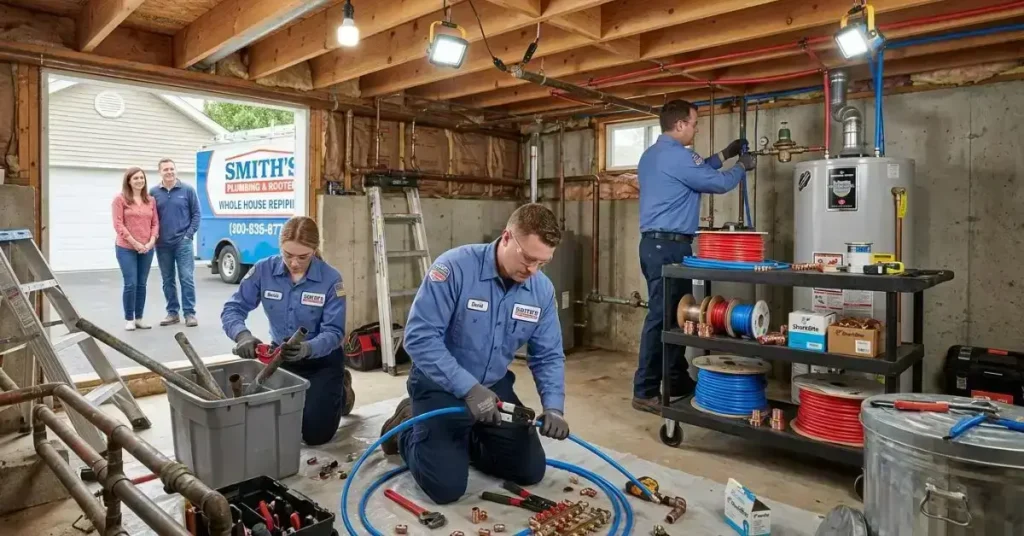
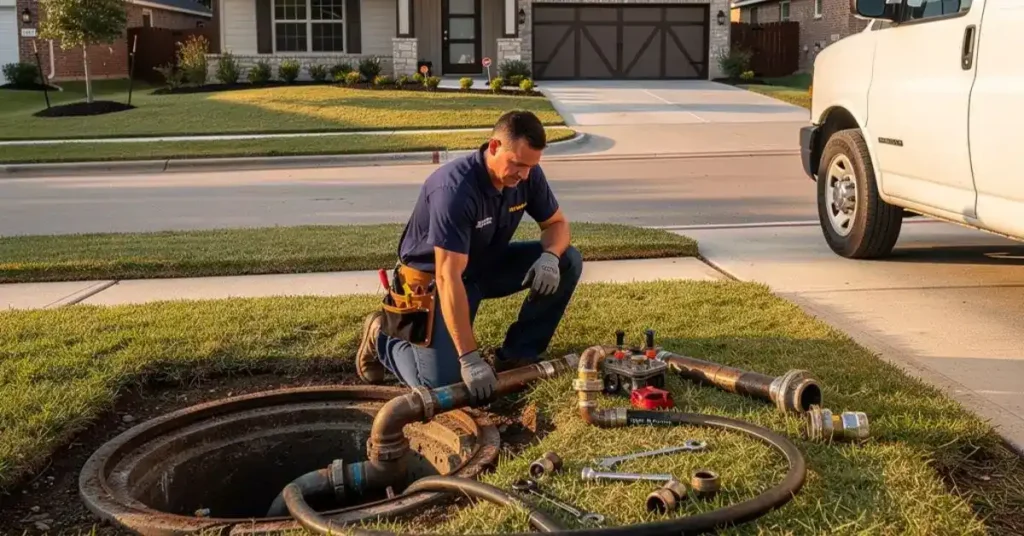
When to Call a Plumber
Most routine pipe maintenance is DIY-friendly. But some situations need a professional.
Call a licensed plumber if:
- You find a leak you can’t trace or stop
- Water pressure drops suddenly throughout the whole house
- You see rust-colored water from multiple taps
- There’s a sewage smell from drains — this signals a venting or sewer line issue
- Any pipe work requires permits (most US cities require this for major repairs or replacements)
Don’t let minor discomfort with calling a plumber turn a $200 repair into a $2,000 one.
Conclusion
Good pipe care does not need to be complicated. A few simple habits like checking for leaks, watching water pressure, clearing drains, and protecting pipes in winter can prevent bigger plumbing problems later. Regular house pipe maintenance helps your system last longer, lowers repair costs, and gives you peace of mind. Start small, stay consistent, and fix minor issues before they turn into expensive damage.
Frequently Asked Questions
What is house pipe maintenance and why is it important?
It means regularly inspecting, cleaning, and protecting your pipes to prevent leaks, corrosion, and blockages. Without it, small issues grow into costly repairs and emergency call-out fees.
How often should I inspect the pipes in my home?
Check under sinks monthly. Do a fuller check — water pressure, corrosion, hidden leaks — every six months. Schedule a professional inspection every two to three years, especially in older homes.
What are the early signs that my pipes need attention?
Slow drains, low water pressure, rust-colored water, damp cabinet interiors, or a rising water bill. Catching these early almost always means a cheaper, simpler fix.
Can I do pipe maintenance myself or do I need a plumber?
Most routine tasks are DIY-friendly. Call a licensed plumber for main water line work, gas water heaters, sewer lines, or anything that requires a permit in your area.
How do I prevent my pipes from corroding?
Test your water quality, keep pressure at 40–60 PSI, and flush your water heater annually. For old galvanized pipes, get a professional assessment — replacement may be smarter than maintenance.
What should I do if a pipe freezes in winter?
Shut off the main water supply. Thaw the pipe slowly with a hair dryer, starting at the faucet end. Never use open flame. If the pipe has cracked, call a plumber before turning water back on.