How to Repair Leaky Pipe
A leaky pipe is one of those problems that feels urgent the moment you notice it — and for good reason. Even a slow drip can cause serious water damage over time, warping wood, growing mold, and quietly running up your water bill.
The frustrating part is that most pipe leaks are fixable. Many don’t need a plumber at all. But fixing one correctly means understanding what kind of leak you’re dealing with, where it is, and what repair method actually works for that specific situation.
This guide walks you through exactly that. You’ll learn how to find and diagnose a pipe leak, choose the right repair method, fix it step by step, and know when to stop and call a professional instead.
What Does It Mean to Repair a Leaky Pipe?
Repairing a leaky pipe means stopping water from escaping through a crack, hole, loose joint, or damaged fitting in your plumbing system. The right repair method depends on the pipe material, the size and location of the leak, and whether you need a permanent fix or a temporary patch to stop damage while you arrange professional help. Not all leaks are fixed the same way.
Quick Summary
Turn off the water first. Identify the leak type and pipe material. Choose the right repair method — epoxy, repair clamp, tape, or joint tightening. Patch temporarily if needed, but plan for a permanent fix. Call a plumber for hidden leaks, burst pipes, or anything you’re not confident about.
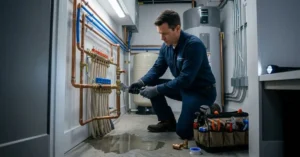
Before You Start: Turn Off the Water
This sounds obvious, but it’s the step people skip when they’re panicking — and it always makes things worse.
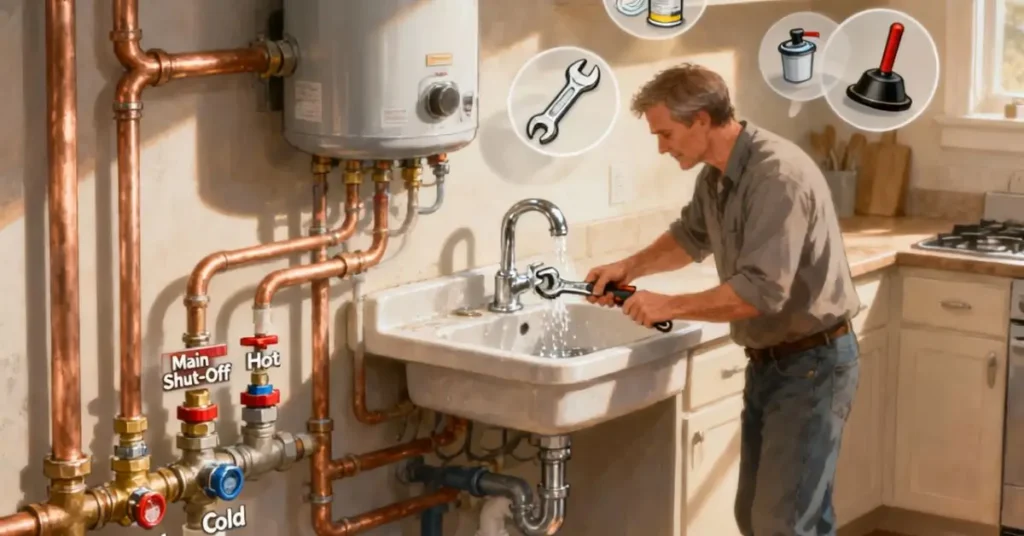
Before touching any leaking pipe, shut off the water supply to that section. Every sink, toilet, and appliance has its own shut-off valve nearby. Turn it clockwise until it stops.
If you can’t find the individual shut-off, or if the leak is on a main line, turn off your home’s main water shut-off valve. Know where this is before you need it — it’s usually near the water meter, in the basement, or outside near the foundation.
Once the water is off, open the faucet connected to that line to release any remaining pressure. Put a bucket and old towels under the leak. Now you can work safely.
Step 1: Find and Diagnose the Leak Properly
Not all leaks look the same. Before you decide how to repair a leaky pipe, you need to know exactly what you’re dealing with.
Common leak types:
- Pinhole leak — a tiny hole in the pipe wall, usually from corrosion. Common in older copper pipes.
- Joint leak — water escaping where two pipes connect. Often caused by a loose fitting or failed sealant.
- Crack or split — a larger break in the pipe, often from freezing or physical damage.
- Supply line leak — the flexible hose connecting a shut-off valve to a fixture. One of the most common and easiest to fix.
How to confirm the location:
Dry the pipe completely with a towel. Watch closely for exactly where the water first appears. Sometimes what looks like a leak in one spot is actually running down from a joint higher up. Getting the location right before you start saves a lot of wasted effort.
Step 2: Choose the Right Repair Method
Different leaks need different fixes. Here’s what works for each situation.
Repair Option 1: Tighten or Reseal a Loose Joint
If the leak is at a threaded fitting or compression joint, start simple.
Turn off the water. Dry everything thoroughly. Try tightening the fitting with a wrench — just a quarter turn. Don’t over-tighten, especially on plastic fittings.
If tightening doesn’t stop the drip, the joint needs to be taken apart, cleaned, and resealed. For threaded joints, use Teflon tape (also called plumber’s tape). Wrap it clockwise around the threads — two to three full wraps — before reassembling.
For compression fittings, check the compression ring (ferrule) inside. If it’s cracked or deformed, replace it. These cost a dollar or two and are available at any hardware store.
Repair Option 2: Epoxy Putty for Pinhole Leaks
Epoxy putty is one of the most reliable ways to patch a small pinhole leak in a metal or PVC pipe. It forms a hard, waterproof seal that holds up well under normal water pressure.
How to use it:
- Turn off the water and dry the pipe completely — epoxy won’t bond to a wet surface
- Cut or tear the amount of epoxy you need from the stick
- Knead it with your fingers until the two parts blend into a uniform color (usually 1–2 minutes)
- Press it firmly over the leak, spreading it about an inch in all directions
- Hold it in place for the time specified on the packaging (usually 3–5 minutes)
- Let it cure fully — most brands recommend 1 hour before turning water back on
Epoxy putty costs around $5–$10 and is available at most hardware stores. It’s a solid repair for minor leaks in accessible pipes.
Important: This is a permanent repair for small holes — but if your copper pipe is developing pinhole leaks, it’s usually a sign of wider corrosion. One patch is fine. Multiple pinholes mean the pipe likely needs replacing.
Repair Option 3: Pipe Repair Clamp
A pipe repair clamp is a metal sleeve with a rubber gasket that wraps around the pipe and seals a crack or hole. It’s faster than epoxy and handles slightly larger damage.
How to apply it:
- Turn off the water. Dry and clean the pipe surface around the leak
- Center the rubber gasket directly over the leak
- Place the metal clamp halves around it
- Tighten the bolts evenly on both sides — firm but not so tight you crack the pipe
- Turn the water back on slowly and check for drips
Repair clamps cost $10–$25 depending on pipe size. They work on copper, galvanized steel, and PVC pipes.
This is a reliable short-term fix and can serve as a permanent repair on smaller leaks — but for significant cracks, pipe replacement is the better long-term answer.
Repair Option 4: Replace the Supply Line
If the leak is on a flexible supply line — the braided hose under your sink or behind your toilet — the easiest fix is a full replacement. You don’t patch supply lines; you replace them.
Steps:
- Turn off the shut-off valve and flush out remaining water
- Place a bucket under the connection
- Unscrew both ends of the supply line — by hand or with adjustable pliers
- Wrap the valve threads with Teflon tape
- Screw on the new supply line — hand-tight, then a quarter turn with pliers
- Turn water back on and check both ends for drips
Replacement supply lines cost $5–$15. Stainless steel braided lines are more durable than the older plastic ones — worth upgrading to while you’re at it.
This repair takes about 15–20 minutes and is one of the most straightforward fixes a homeowner can do.
Repair Option 5: Repair Tape (Temporary Fix)
Silicone self-fusing repair tape is useful for emergency situations — stopping a drip fast while you arrange a proper repair or wait for parts.
Wrap it tightly around the leak, overlapping each layer by about half the tape width. It fuses to itself (not to the pipe) and creates a watertight seal under pressure.
Be clear about what this is: a temporary fix. It works for a few days to a few weeks depending on water pressure and pipe condition. Don’t rely on it as a permanent solution.
Repair Methods at a Glance
| Leak Type | Best Repair Method | DIY Friendly? | Permanent Fix? |
|---|---|---|---|
| Loose threaded joint | Teflon tape + retighten | Yes | Yes |
| Pinhole in copper/PVC | Epoxy putty | Yes | Yes (small leaks) |
| Crack or larger hole | Pipe repair clamp | Yes | Short to medium term |
| Supply line leak | Full replacement | Yes | Yes |
| Emergency — any leak | Silicone repair tape | Yes | No — temporary only |
| Leak inside wall | Professional repair | No | Call a plumber |
| Burst pipe | Professional repair | No | Call a plumber |
Working With Different Pipe Materials
The repair approach changes slightly depending on what your pipes are made of.
Copper pipes:
Durable and common in homes built from the 1950s onward. Epoxy putty and repair clamps work well. If you’re comfortable with a torch, copper pipes can be soldered — but that’s a skill that takes practice and isn’t recommended for first-timers.
PVC and CPVC pipes:
Plastic pipes are common in newer homes. They don’t corrode, but they can crack from physical impact or freezing. PVC cement (pipe glue) is the standard repair method for PVC joints. For cracks, a repair clamp works well.
Galvanized steel pipes:
Found in older homes, often pre-1970s. These corrode from the inside and are prone to leaks at joints. Epoxy and clamps work short-term, but galvanized pipes that are leaking regularly are usually past their useful life — pipe replacement is the honest recommendation.
PEX pipes:
Flexible and increasingly common in modern construction. Leaks in PEX usually happen at fittings, not in the pipe itself. PEX fittings can be replaced with the right crimping or clamp tool, but this is slightly more technical than other repairs.
When to Stop and Call a Plumber
Knowing how to repair a leaky pipe yourself is valuable — but knowing when not to is just as important.
Call a licensed plumber when:
- The leak is inside a wall, ceiling, or floor
- You have a burst pipe or a crack longer than a few inches
- Multiple pipes in the same area are leaking — this signals systemic corrosion
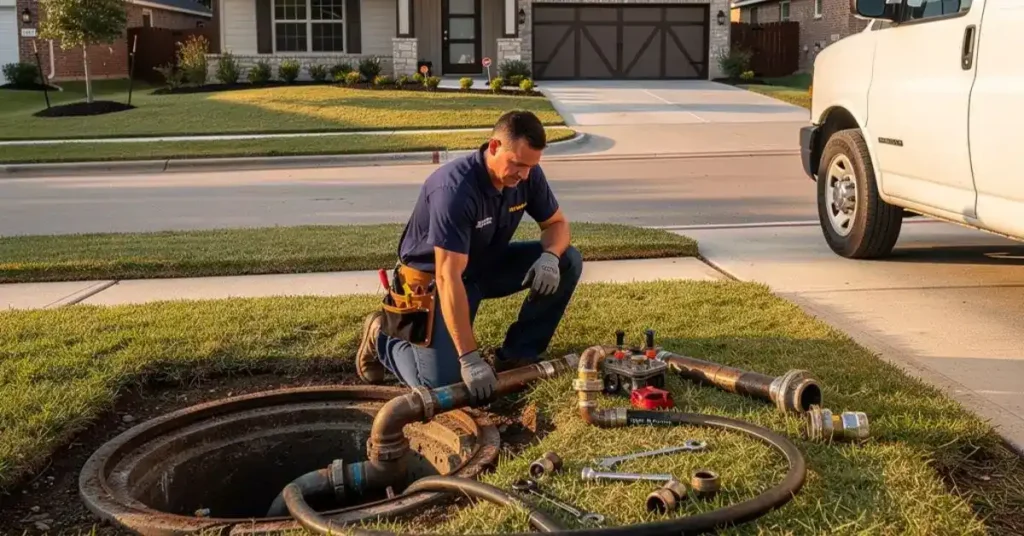
- The leak is on your main supply line
- You’ve applied a patch and it’s still dripping
- Any repair requires cutting into drywall or involves a permit
A realistic example: A homeowner in Denver noticed water staining on the drywall in their hallway. They assumed it was a small leak and tried patching from the outside. When a plumber finally came in, it was a corroded elbow joint inside the wall that had been dripping for weeks. The water damage cost significantly more to repair than the original plumbing fix would have.
Catching hidden leaks early — and getting them fixed properly — is always cheaper than waiting.
Conclusion
Knowing how to repair a leaky pipe is one of the most practical skills a homeowner can have. Most leaks — a loose joint, a pinhole in copper, a failing supply line — are genuinely manageable with basic tools and the right approach. The key is diagnosing accurately, choosing the right method, and being honest about whether a patch is enough or whether a permanent fix is needed.
Start with the simple solutions. Work carefully. And when the problem is beyond what you can clearly see and confidently fix, call a plumber without hesitation. A small repair bill today is always better than a large water damage bill later.
Frequently Asked Questions
How do I know if I have a leaky pipe?
Watch for rising water bills, damp wall or ceiling spots, musty smells, or the sound of running water when nothing is on. Confirm with the water meter test — turn off all water, wait 20 minutes, and check if the reading changed.
Can I repair a leaky pipe without turning off the water?
No. Always shut off the water supply first. Patching a pipe under live pressure is unsafe and the repair won’t hold. Know where your individual and main shut-off valves are before starting any repair.
How long does a pipe repair clamp last?
Several years under normal conditions — but treat it as a medium-term fix, not permanent. On older corroding pipes, plan for a proper repair or pipe replacement within a reasonable timeframe.
Is epoxy putty a permanent fix for a leaky pipe?
Yes, for small pinhole leaks on healthy pipes. It bonds hard and handles normal pressure well. But if your pipe is developing multiple pinholes, patching each one isn’t a real solution — that section needs replacing.
How much does it cost to fix a leaky pipe yourself?
DIY materials cost $5–$25. A plumber call-out for a simple leak runs $100–$300 in most US cities. Hidden or main line leaks cost significantly more.
When should I replace a pipe instead of repairing it?
Replace it when leaks keep coming back, when the pipe is old corroded galvanized steel, or when the crack is too large for a clamp. One patch is fine — repeated patching means the pipe is past its useful life.